
Here are some behind the scenes photos of my construction. This is my usual sewing process:
- A few months out from the event I start collecting pics on pinterest, consulting books, and asking friends if their books have conflicting evidence with what I’ve found.
- Depending on the person I’m playing and time of year, decide on fabric and color, then buy the fabric.
- All of the fitting/sewing/finishing usually ends up taking place in a month or so. I figure out my pattern pieces; make a mock up; adjust; cut stuff out and then sew away.
I think this is pretty standard for most people who sew historical clothing.
Sources consulted
First, here is my 1840s pinterest board. I think I’m like most people who love historical clothing in that I’m drawn to certain lines, trim details, and colors. There is definitely a distinct style for my board. The tricky part with this sewing project was that the Christmas event we were a part of had a super specific time period: Dec 1843. My dress had to be within the date range of 1842 – 43, but not after. That also meant getting the sleeves right and the bodice construction right. Here’s the other kicker: I did not buy a commercial pattern. There are things for 1830s and 1845, but nothing exactly at 1843. Why would there be? That’s such a random date. Unless the historic site near you has that date within their time range.
Costume in Detail dress I studied:


Patterns of fashion dress I studied:


While my mom who grew up learning how to sew purely from commercial patterns freaked out over me not using a pattern, I really enjoyed the challenge of studying a picture and mulling over how the fabric was cut, tucked, folded etc so it looked like it did in the drawing/photo.
Luckily the sewing teacher at the school where I teach was pretty good at looking at a drawing and looking at my mock up and saying, yep you’ve got the right lines; you’re good to go. Cha-ching!
Mock ups:

(stripes look good!)
Construction and research on construction
I think I’ve been lucky with the other things I’ve sewn and the patterns I just so happened to use for those projects. I admitted in my other post that I never had to sew darts. Yeah not sure how I got away with that for so long, but I did. I always thought they were scary. No idea why. Thank goodness for the website, Historical Sewing! I read and re-read this post on Victorian bodice construction and it really helped a ton. I read this one on flatlining a bodice. Then I read this one on sewing darts. I’m pretty sure for the last month, I had these tutorials open on permanent tabs on my computer.
I was really proud of my reuse of a garment. I had made a not so authentic 18th cent petticoat when I first started reenacting. It was a brown/red stripe and looked fine. The sewing was nothing particularly outstanding, but it was the first article of clothing I had ever sewn by myself. Because I now only wear linen and wool petticoats, I decided it was time to repurpose my first cotton petticoat into the lining of my 1843 dress. I washed the petticoat (because I couldn’t remember the last time I had worn it and whether it had been washed) and then ripped it apart. I thought I would be sadder than I actually was! The other reason for using the old petticoat was two-fold: 1) I couldn’t be bothered with another trip to the fabric store because that would take away from important sewing time and 2) I wanted to work the bodice and fashion fabric in stripes so I knew which way was which.
Petticoat post rip:

Using the mock up as pattern pieces and cutting out bodice lining:

Flatlined bodice pieces:

I don’t know if this is historically accurate, but I used the pieces of the piping to conceal the inner seams. I still have to tack it down.
Spreading out the piping:

Completed bodice inside:

(piping attached to bottom, but not tacked down)


The fabric was about 60 inches wide. I didn’t want the skirt to be enormous nor did I want to hem all of that, so I used three panels. I really like pleating. I debated about doing cartridge pleats. I love the way they look. However, I’d never done them before. There are tutorials, but it wasn’t something that I wanted to try out given my time constraints. I had to repleat my skirt about 5 or 6 times to get the fit and bell shape just right. Working with more than two panels (a la 18th cent skirt) was a tad more challenging than I had expected. I tried to not get too annoyed / frustrated with myself. I determined that I just need more petticoats as well. I definitely need a double or triple flounced one. And I need one made of organdy that is stiffer.
Pleating take 1:

Pleating take 2:

Petticoat ghost:

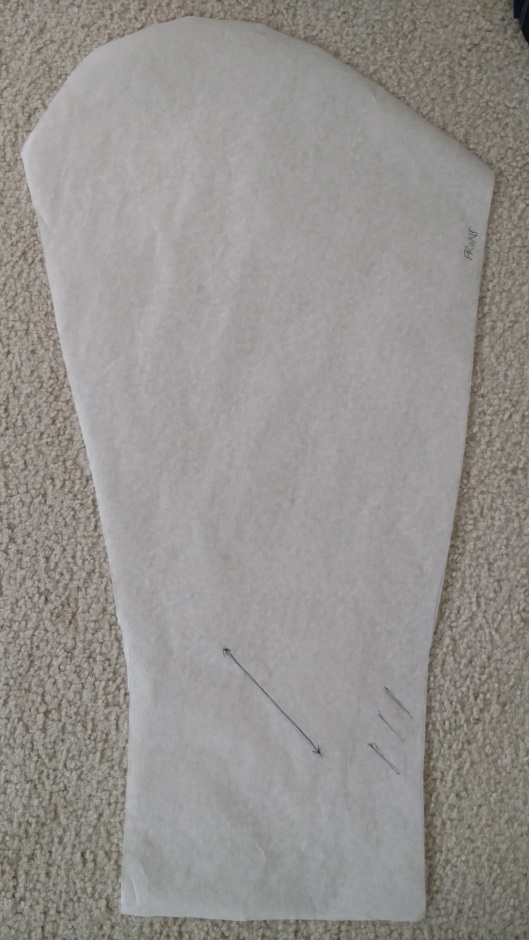
Another fun/interesting part was making the sleeves. Again, I only had a pattern for the leg o’mutton 1830 sleeves, but by the 1840s, the sleeves started to be slimmer and more fitted all the way around. I could have done a gathered/pleated sleeve head with a little poof around the elbow, but again, that seemed like a lot of extra effort/time that I could not spare. By the time I got around to making the sleeves (which always seems to be one of my last steps), I was at my mental capacity. I used the top of a regency sleeve pattern because I knew it was fitted enough, and then I wrapped a string around the widest part of my arm to get a measurement. Then I used a different regency long sleeve pattern. I decided I only wanted one seam and I cut the fabric on the bias (because diagonal stripes are fun!) and to get a closer fitting sleeve.
Sleeve pattern:
Lining pinned together:

In looking at various 1842/43 fashion plates, I couldn’t exactly tell where the sleeves stopped. I purposely cut it longer just to be safe.
Sleeve length 1:

Sleeve length 2:

(I ended up cutting off a good 2 inches from the end of the sleeve. I will most likely use that as a cuff of some sort).
Two nights before I was to wear my dress, I was playing around the trim. My sleeve head did not come out as dropped as I would like it. But it is what it is. I have no desire to rip out all the stitches holding the sleeve in place, so I thought I would trim it in a sloped fabric of some sort to give the illusion of a dropped shoulder. Below are two options.
Trim options:

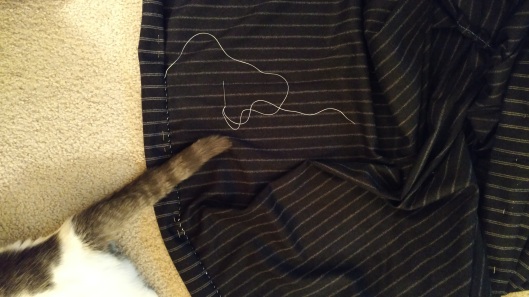
Lastly, it never fails – – I am *always* hemming my skirts the night before the event and usually this process starts some time between 8 and 9 p.m. What is my deal?! I had timed myself in the past and on similar length fabric, it took 2 hrs. This time I got it down to 1.5 hrs! Woot!
Kitty helps with hemming:


Pingback: Challenge #11 Silver Screen – 1840 Jane Eyre Dress | Catherine the Teacher
NICE!!!!!! So much work- but you should be so proud!